


Simple Steps to Grow Endive Microgreens
 Milosh Potikj
| November 07, 2023 | 9 MIN READ
Milosh Potikj
| November 07, 2023 | 9 MIN READ
Growing microgreens can be a rewarding experience and endive microgreens are the perfect option for novice gardeners. Not only do they have an impressive nutritional profile, but they're also incredibly easy to grow!
Whether you want to start with a simple DIY kit or just need some tips on how to incorporate these fragrant greens in your diet, this blog post will provide all the information you need to get started growing your endive microgreens.
From using viable seeds to monitoring moisture levels during germination, read on for our no-fail approach that guarantees success every single time!
Benefits of Growing Endive Microgreens
|
Endive microgreens are packed with essential vitamins and minerals, including Vitamin A, C, K, and E, along with Calcium and Iron |
|
Endives are perfect for beginners due to their fast germination time and low maintenance |
|
They add a fresh, slightly bitter taste to salads, sandwiches, and other dishes |
| They can be grown indoors year-round, making them a perfect choice for urban gardening | |
|
Growing your own food is an eco-friendly option that reduces carbon footprint and promotes self-sufficiency |
Choosing Your Endive Seeds

The first step in your endive microgreen journey is choosing your seeds. As with any plant, the quality of the seed greatly influences the success of your crop. We recommend using organic, non-GMO endive seeds specifically marked for sprouting or growing microgreens.
These seeds have been harvested at their peak and are free of harmful pesticides, offering you the healthiest, most nutrient-dense microgreens possible. When purchasing seeds, check their germination rate; a higher percentage means more of your seeds will sprout successfully.
Setting Up Your Growing Area
Next, you'll want to set up your growing area. There are two primary options you can go for:
Using a DIY Microgreens Kit
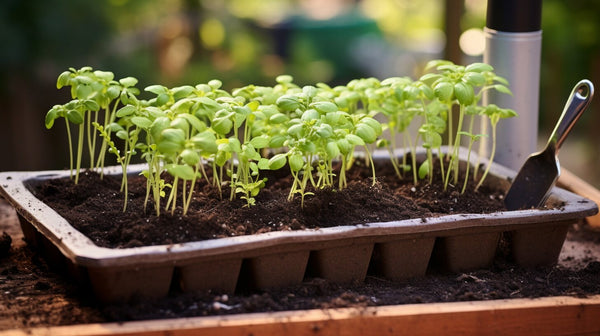
If you're a beginner, a DIY Microgreens Kit is an excellent choice. These kits typically come equipped with everything you need to get started, including a tray, soil or growing medium, a spray bottle for watering, and, of course, endive seeds. Not only are these kits convenient, but they also eliminate the guesswork from the process, providing clear, step-by-step instructions that guide you through everything from sowing your seeds to harvesting your greens.
Most kits also include a lid or cover, which helps create a mini greenhouse effect, optimizing conditions for germination. Remember, successful sprouting involves maintaining a consistent environment. The DIY Microgreens Kit makes it easy to manage moisture levels and temperature, ensuring your endive seeds sprout successfully.
Preparing Your Own Setup

If you're up for the challenge, preparing your own setup can also be a rewarding way to grow endive microgreens. Here's how:
- Select a container: Any shallow container will work. An old takeaway container with drainage holes punched in the bottom is a budget-friendly option.
- Choose your growing medium: Soil is a great choice for beginners, but you can also use a soilless medium like hydroponic mats or coconut coir.
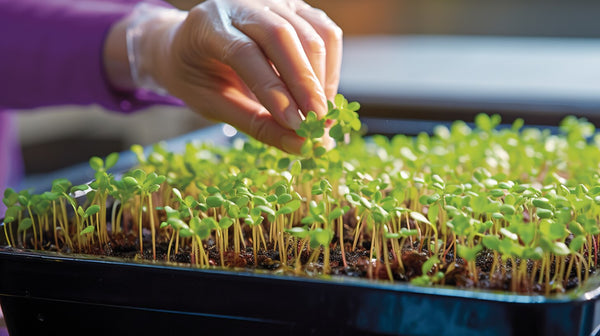
- Sow your seeds: Spread your endive seeds evenly across your growing medium and lightly press them onto the surface. They should be close but not touching.
- Cover your seeds: Lightly cover your seeds with a thin layer of your growing medium or a paper towel to help retain moisture.
- Water: Mist your seeds with a spray bottle.
- Find a location: Place your container in a location that gets at least four hours of indirect light each day and where you can easily monitor the moisture and growth of your microgreens.
By following these steps, you'll set up a perfect environment for your endive microgreens to thrive.
Related: Guide to Grow Parsley Microgreens.
The Growing Process

Once you've set up your growing area and sown your endive seeds, it's time to focus on the growing process. This phase requires patience, care, and a keen eye for detail.
- Germination
The germination process usually takes about 4-5 days. During this time, it's crucial to maintain a consistently moist (but not waterlogged) environment for your seeds. Ensure your seeds are covered during this period to retain moisture and warmth, which will encourage sprouting. Check your seeds daily, and lightly mist the cover with water as needed to maintain moisture level.
- Growth Phase
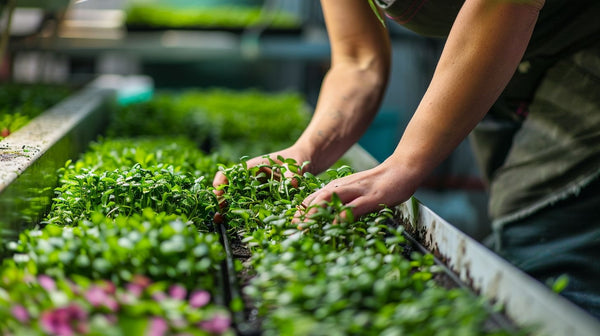
With the right conditions, your endive seeds will start to sprout. Once you see the small shoots, it's time to move to the growth phase. You can now remove the cover and provide the greens more light. Continue to water them gently to avoid disturbing the tender sprouts. It's also important to rotate your tray periodically to ensure even light exposure.
- Harvesting
Your endive microgreens will be ready to harvest when they've grown about 1-2 inches tall, usually around the 10-14 days mark. To harvest, simply cut the microgreens just above the soil line. Rinse and dry them before using them in your favorite dishes.
Care and Maintenance

Taking care of your endive microgreens involves regular watering, monitoring light and temperature, and ensuring a healthy growing environment.
- Watering: Make sure your microgreens receive water regularly but avoid overwatering as it could lead to damping-off disease. A spray bottle is the best tool for watering your microgreens. Aim to keep the soil moist, not soaked. Generally, watering once a day should be sufficient, but always check the moisture level of your soil to be sure.
- Light and Temperature: Endive microgreens need around 4-6 hours of indirect sunlight each day. They do well in cooler temperatures, ideally between 65 and 75°F. If they become leggy or pale, they may need more light. Conversely, if they appear dried or burnt, they might be receiving too much light or heat.
- Overall Environment: Watch out for mold, which can be a common issue when growing microgreens. If you spot any mold growth, it may be a sign of overwatering or insufficient air circulation. Promote good airflow by placing a small fan nearby and prevent overcrowding by not planting your seeds too densely.
Remember, the key to successful microgreen cultivation is observation and responsiveness. Look for signs of what your plants need and adjust your care routine accordingly. This hands-on experience will not only result in a bountiful harvest of endive microgreens but also deepen your understanding and appreciation for the process of growing your own food.
Learn more: Guide to Grow Lemon Balm Microgreens.
Harvesting Your Endive Microgreens

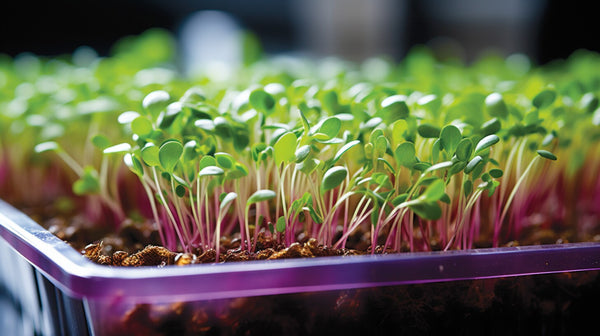
Harvesting your endive microgreens is a joyous occasion marking the fruition of your diligent care and patience. While the exact timing may vary based on environmental conditions, endive microgreens are typically ready for harvest when they've reached about 1-2 inches in height and have developed their first set of true leaves. This usually occurs around 10-14 days after sowing.
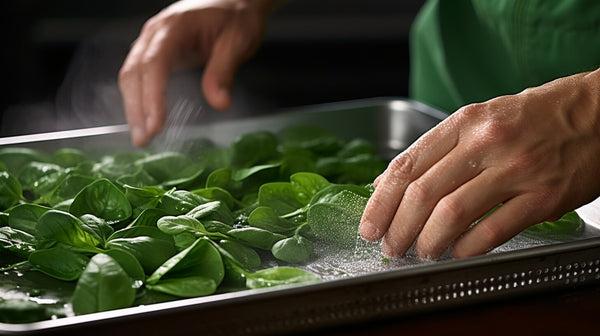
To harvest, you will need a sharp, clean pair of scissors. Start by gently holding a clump of microgreens above the soil line, then cut the stems, taking care not to pull out the roots or disturb the growing medium. Try to harvest in the cool hours of the morning when the plants are at their freshest and most nutrient-dense. Once you've harvested your microgreens, rinse them under cool, running water to remove any soil or debris. Pat them dry, or use a salad spinner to remove excess moisture.
Remember, harvested microgreens are delicate and should be consumed as soon as possible for maximum flavor and nutritional value. If you must store them, do so in a sealed container in the refrigerator. Take care not to crush the leaves and consume them within a few days. Whether sprinkled on a salad, blended into a smoothie, or used as a garnish for your favorite dishes, endive microgreens offer a nutritional boost and a burst of fresh, slightly bitter flavor.
Incorporating Endive Microgreens into Your Diet

Incorporating endive microgreens into your daily diet not only adds a pop of color and a fresh, slightly bitter flavor to your meals but is also a great way to enhance your nutritional intake. Here are some family-friendly and approachable recipe ideas that make the most of these tiny but mighty greens:
- Green Smoothie: Blend a handful of endive microgreens with your favorite fruits, such as bananas and berries, and a splash of almond milk for a nutrient-packed breakfast or snack.
- Salad Sprinkle: Toss a handful of endive microgreens into your favorite salad mix to add a layer of complexity to the flavors and boost the nutritional content.
- Wrap or Sandwich Topping: Use endive microgreens as a fresh and crunchy topping for wraps or sandwiches. They pair well with a variety of ingredients, from deli meats to veggies, and add a delightful crunch.
- Soup Garnish: Sprinkle a small amount of endive microgreens on top of a bowl of soup just before serving. They add a fresh contrast to the warm comfort of the soup.
- Egg Scramble: Stir some endive microgreens into your morning scramble or omelette for a colorful and nutritious breakfast.
Remember, the key to enjoying endive microgreens is to add them to dishes at the end of your cooking process or use them fresh. This way, you'll retain their nutritional value and enjoy their unique flavor profile.
Similar Blog: Guide to Grow Shiso Microgreens.
Troubleshooting Common Issues

Growing your own endive microgreens can sometimes present a few challenges, but don't worry! Most of these can be easily resolved with a bit of understanding and care. Let's discuss some of the most common issues you might encounter and how to address them:
- Overwatering: Overwatering is a common issue that can lead to problems like root rot or mold. To avoid this, ensure your microgreens are watered just enough to keep the soil moist but not soaked. If you notice yellowing leaves or a general wilting of your microgreens, you may be overwatering. Cut back on your watering schedule and ensure there is sufficient drainage to keep your soil from staying overly wet.
- Light and Temperature Problems: Adjusting light and temperature conditions can be tricky. If your microgreens are leggy and pale, they may need more light. On the other hand, if they appear dried or burnt, they might be getting too much. Moving your planting tray to a location with optimal light conditions or adjusting the light source can often solve this problem. Keep in mind that endive microgreens prefer cooler temperatures between 65 and 75°F.
- Dealing with Pests: Pests can be an issue, particularly if you're growing your microgreens outdoors. Common pests include aphids and fungus gnats. Regular inspection of your plants can help identify a pest problem early. If you do spot pests, remove them manually if possible or use an organic insecticidal soap. Maintaining a clean growing area and removing any dead or decaying plant matter can help prevent pest infestations.
Remember, patience and observation are key when cultivating your own microgreens. With a bit of practice and fine-tuning, you'll be able to overcome these common issues and harvest a bounty of nutritious and flavorful endive microgreens.
Frequently Asked Questions
How do you grow endive microgreens?
Growing endive microgreens begins with selecting a suitable growing medium, such as a soilless mix or a hydroponic mat, and evenly sowing your seeds. The seeds then need to be kept in a dark and damp environment until they germinate, after which they should be moved to a well-lit area and watered regularly.
How do you grow microgreens step by step?
To grow microgreens step by step, start by spreading your chosen seeds evenly over your growing medium. Keep them damp and in a dark space until germination takes place. After germination, move the tray to a well-lit area, and water regularly. Remember to harvest your microgreens when they've developed their first set of true leaves.
How to grow endive?
To grow endive, you need to sow the seeds in rich, well-drained soil and provide them with full sun exposure. Maintain consistent moisture levels, but avoid waterlogging as it can lead to root rot.
How much does 1 tray of microgreens produce?
The yield of a tray of microgreens can vary based on the type of microgreen and growing conditions, but generally, one 10" x 20" tray can yield approximately 8 to 12 ounces of microgreens. Remember, the key to a successful harvest lies in providing optimal growing conditions and proper care.
Enjoying the Fruits of Your Labor
As you savor the fresh, slightly bitter flavor of your homegrown endive microgreens, take a moment to appreciate the fruits of your labor. Incorporating these nutritious greens into your meals not only enhances your diet but also contributes to a sense of accomplishment and connection to the food you eat.
Share this bounty with your loved ones, introducing them to the unique flavor and nutritional benefits of endive microgreens. And remember, each harvest is just the beginning.
Planning your next crop can be an exciting process, allowing you to explore other varieties or perfect your process with endive. As you continue your journey with microgreens, may each harvest bring joy, health, and a deepened appreciation for the simple yet profound act of growing your food.